EDITORIALS
Hardware compatibility testing explained
Wanting a better grasp of hardware compatibility testing? This guide shows you what it is, when you’ll need to use it, the software issues it can reveal, and how to actually start doing it.
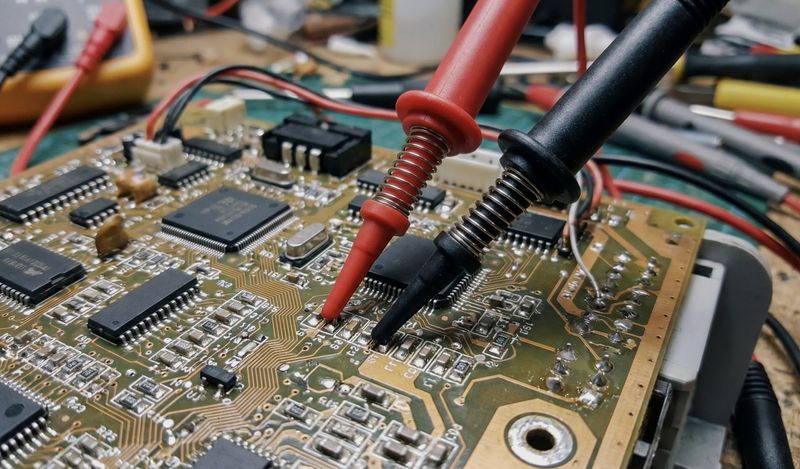
Testing a physical product runs on different rules from testing software: two identical units can behave differently, boards change between revisions, and every firmware build multiplies the matrix. What hardware testing involves, stage by stage, and how teams keep track of it.

By Stef
July 2, 2026


ardware testing means working through a physical unit on a bench: powering a new board for the first time, putting prototype builds through drop and thermal and ingress, running firmware against real peripherals. Unlike software, the thing under test is a physical object with its own history: unit #3 can pass a check that unit #5 fails, with the same firmware on both, and much of the discipline in hardware testing exists to tell those two stories apart. This guide covers what hardware and firmware testing involves stage by stage, and how teams keep track of results that multiply across units, board revisions, and firmware builds.
At a glance
Here for a tool rather than a guide? See Testpad for hardware teams: bring-up checklists in plain text, results tracked per unit and per build.
A hardware program tests different things at different stages. Early on, the question is whether the design works at all: does the first prototype power up, boot, and do its job on the bench? In the validation builds that follow, the questions become whether the design survives the real world (heat, drops, water, years of use), and whether the factory can build it repeatably. At the end, production test asks the question once per manufactured unit: is this one good?
Fictiv's hardware testing overview groups the same territory into early-stage prototype testing, pre-production testing on EVT/DVT/PVT builds, and ongoing mass production testing, with environmental stress and compliance certification sitting in the middle. The stages below follow that arc, starting where every board starts: first power-on.
Bring-up is the first careful walk through a new board, and it follows a sequence you don't want to improvise, working outward from power. Before any power is applied at all, the board gets inspected: solder bridges, missing parts, polarized capacitors and diodes the right way around, and each power rail checked to ground for shorts. A dead short found with a multimeter costs a minute; found at power-on, it can cost the board.
First power comes from a current-limited bench supply, so a fault draws a limited current instead of burning something out. Then the rails get verified one by one, with real numbers: apply 5V at the input connector, measure 3.3V within tolerance at the test point, confirm the 1.8V rail comes up after the 3.3V rail if the design sequences them, and check the idle current draw looks sane. Only then does the sequence move outward: clocks running, reset releasing cleanly, the debugger detecting the MCU over JTAG, firmware flashing with a matching checksum, a boot banner on the UART console. After that come the interfaces (USB enumerating, Ethernet negotiating a link), the sensors, and the radios.
Written down, that sequence is a checklist, and that's exactly how experienced teams run it: the same plan for every board, so board #2 gets the same careful pass as board #1, and so does the respin that arrives three weeks later. Improvised bring-up finds most of the same problems; the checklist is how you know which checks a given board actually got.
When a check fails on a software build, the build has a bug. When a check fails on a hardware unit, you don't yet know what has a bug. A board that fails its 3.3V rail check might have a solder defect (that one board, fixable with an iron) or a design problem (every board, fixable only with a respin). The way you tell is by comparing units: one unit failing thermal while three pass points at the unit; all four failing points at the design.
That's why hardware results are recorded per unit, against serial numbers, not per build. It's also why a board revision resets the record: a rev C board is a different board from a rev B, and rev B's passes say nothing about rev C. The same applies along the firmware axis, since a unit that passed on firmware 0.9.2 hasn't passed on 0.9.3 until someone runs the checks again.
In practice this means the natural shape of hardware test records is a grid: the checks down the side, and a column of results per unit, per revision, or per unit-and-firmware combination. The teams that track it this way can answer the questions that matter afterwards ("did EVT-05 get the RF checks before it shipped to the demo?") in seconds. The teams that don't end up reconstructing history from email threads and someone's lab notebook.
Between prototype and production, most hardware programs run staged validation builds, each bigger and closer to final than the last.
EVT (engineering validation test) is the first integrated build, typically a few dozen units. The question is whether the design meets its functional requirements: everything the product must do, exercised on real boards, often before the final enclosure exists.
DVT (design validation test) builds should represent the production-intent design, and this is where the punishing tests happen. The build gets allocated across the test matrix: these five units to drop testing, those five to the thermal chamber, others to ingress, battery, and RF. Certification efforts (FCC, UL, Bluetooth and the like) typically start on DVT units too, alongside reliability and environmental testing; Embedded Artistry's field manual entry on DVT is a good practitioner's description of the stage.
PVT (production validation test) moves the question to the factory: the first run on the real production line, validating that the process builds good units at acceptable yield, not just that the design is good.
Because each build is a fresh population of units, results from one stage don't transfer to the next; what carries forward is the plan. Teams that keep the same test plan from EVT through PVT, giving each build its own set of result columns, can see at a glance which failures cleared between builds and which followed the design through a respin.
Environmental testing asks whether the product survives conditions rather than whether it functions on a friendly bench. The standard repertoire includes thermal cycling and thermal shock, sustained operation at high temperature and humidity, vibration, drop, dust and water ingress, and salt spray for anything that will live near a coast or a road. Which of these apply, and how hard, comes from where the product will live; a wall-mounted controller and a handheld scanner earn different lists.
A soak test is the simplest of the family and one of the most revealing: run the unit at full load for a sustained period and watch for resets, brownouts, and hotspots. It catches the class of problem that never shows in a two-minute functional check, like a regulator that drifts as it warms up or a processor that throttles under a heat-soaked enclosure. Soak results vary by unit like everything else: it's routine for one unit to soak clean while its sibling resets at minute 20.
Firmware testing on a real product is regression testing with a physical dimension. Every release candidate needs a pass on real devices: the configurations customers actually run, the peripherals that only misbehave when they're physically attached, and the upgrade paths from older firmware versions still in the field. Emulators and unit tests catch plenty, but a class of bugs only exists where firmware meets hardware: timing, power states, sensor behavior at temperature, a radio that pairs on the bench and drops in an enclosure.
Some of this gets automated with hardware-in-the-loop rigs, and where HIL fits, it's excellent. But HIL covers a slice and humans cover the rest, because rigs are expensive to build and every product change threatens to invalidate them. The human slice (new features, peripheral quirks, upgrade paths, anything needing judgment) runs off a checklist, release after release.
The bookkeeping consequence is the same grid again, with firmware version as a column axis: unit EVT-03 on 0.9.2, unit EVT-03 on 0.9.3. When something fails, the first diagnostic question is always "board or firmware?", and results tracked per unit and per build are what let you answer it by looking rather than by re-testing.
Products with radios, mains power, or a medical or automotive context have to pass certification testing (FCC, CE marking, UL, Bluetooth qualification, and onward depending on the product and market), and much of that testing happens at specialist labs rather than on your bench. Your team's part is preparation and evidence: pre-compliance checks before the expensive lab time, and records showing what was tested when the certification body, a customer, or an internal gate review asks.
A note on what standards actually demand, because teams routinely over-engineer this: regulated-industry standards generally require you to document what you test and keep results traceable to units and versions. They do not, in general, prescribe heavyweight test case formats. A dated, per-unit record of checks and outcomes, with the plan it came from, answers most "show us your testing" questions. What doesn't answer them is a spreadsheet nobody can date or a wiki page that was edited after the fact.
Everything above keeps arriving at the same shape: a list of checks, run repeatedly, with results that need recording per unit, per revision, and per firmware build. That shape is why hardware teams that outgrow spreadsheets often don't want a heavyweight test case tool; a bench check doesn't need preconditions, steps, and expected result written out as separate fields. "Apply 5V at J1, measure 3.3V ±5% at TP12" already says what to do and what should happen.
Testpad is built around exactly that: a test is one line of plain text, indented into groups by subsystem, with a column of results per unit, per board rev, or per firmware build. When the next build arrives, you copy the plan and the new build gets clean columns while the old build keeps its results, so EVT and DVT stay comparable. Photos of the setup, the scope trace, or the damage attach to the result they belong to. When testing goes outside the team, to a test lab or a contract manufacturer, a guest link lets them run the checklist in a browser with no login, with their results landing in the same plan. One boundary to know about: Testpad is not ATE or ICT and doesn't control instruments; it manages the checks a person performs, alongside whatever you've automated.
Hardware teams run on it today. NVIDIA uses Testpad for prototype tracking and hardware bring-up:
"We've been using Testpad to track prototypes and execute hardware bring-up tests and are absolutely thrilled with it. The combination of features, reporting, and ease of use make it superior to anything we've used before." – Kyle Roberts, Senior DGX Server Platform Engineer, NVIDIA
And Legrand uses it daily for embedded software testing:
"We use it every day testing embedded software, making light work of our many environments and configurations." – Jason Pritchard, QA Engineer, Legrand
Bring-up is the first methodical test of a new board: inspection before power, checking rails for shorts, first power-on through a current-limited supply, then verifying power, clocks, reset, programming, and peripherals in order, working outward from the power supply. The goal is to find problems in a sequence that protects the board, instead of applying full power and hoping.
Power first, everything else after. Inspect visually, check each rail to ground for shorts, power up current-limited, verify each rail's voltage and sequencing, check clocks and reset, then flash firmware and confirm boot, then work through interfaces, sensors, and radios. Any step skipped early tends to disguise itself as a confusing failure later.
Staged validation builds between prototype and mass production. EVT (engineering validation) proves the design meets functional requirements on real boards. DVT (design validation) tests production-intent units against the environment: drop, thermal, ingress, plus certification. PVT (production validation) proves the factory line can build the design at quality and volume. Each stage is a fresh set of units, so each gets fresh results.
The test matrix has physical axes. A web app is tested per build; firmware is tested per build per unit, and often per board revision and per attached peripheral, because hardware variation changes the result. Firmware testing also includes things software testing never meets: upgrade paths on devices in the field, behavior at temperature, and bugs that only appear with real components attached.
Running a unit at full load for a sustained period (half an hour to days, depending on the product) while watching for resets, overheating, and drift. It exposes problems that short functional checks miss, and it's usually the last gate in a bring-up checklist.
Generally no. Standards and auditors ask you to document what you test and keep results traceable to specific units and versions; the format is yours to choose. A dated checklist with per-unit results and the plan it came from is documentation. Check the specific standard for your industry rather than assuming the heavyweight format is mandatory.
If the next board is arriving soon, put the bring-up plan in Testpad before it does. There's a 30-day free trial, and you'll have a test plan before the boards hit the bench.

If you liked this article, consider sharing
EDITORIALS
Wanting a better grasp of hardware compatibility testing? This guide shows you what it is, when you’ll need to use it, the software issues it can reveal, and how to actually start doing it.
EDITORIALS
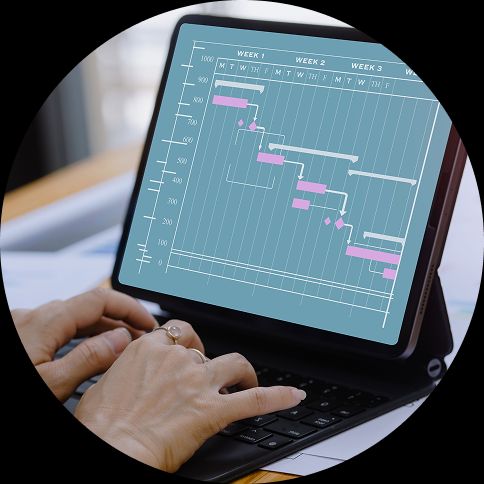
A practical guide to test planning for software teams – what it is, what to include, and how to keep your plan simple without losing coverage.

EDITORIALS
Formal test cases cost more than they return. Most of their words are product documentation in the wrong place, and their step-by-step instructions keep testers from the bugs nobody wrote a step for. So here is the case for a different default: the test plan as an outline of one-line prompts, covering the same ground with a fraction of the words.